Blogging Tutorial - Part 2 - How to Start a Blog Website
Blogging Tutorial - Part 2 - How to Start a Blog Website
Hello Friends! Welcome to the Part -2 of Blogging Tutorial - How to start a blog website. In the previous part we have learned how to create a free blog website. If you don't read that article then I would request you to go to that article first and then come here. This will help you to understand today's topic clearly.
Read Also -
👉 Blogging Tutorial - Part 1 - How to Start a Blog Website
Today I have brought you the second phase of the series “Blogging Tutorial”. In this episode we are going to learn -
So, let's get started.
- Where to start a blog,
- Introduction to blog dashboard,
- What are the blogging tools,
- Necessary blog settings, and
- How to start your own blog?
So, let's get started.
Blogger Dashboard
If you have thoroughly followed the previous episode, you might have already created a blog of your own. So, Sign In to your blog and go to the Blog Dashboard again. The dashboard will look like the picture below:
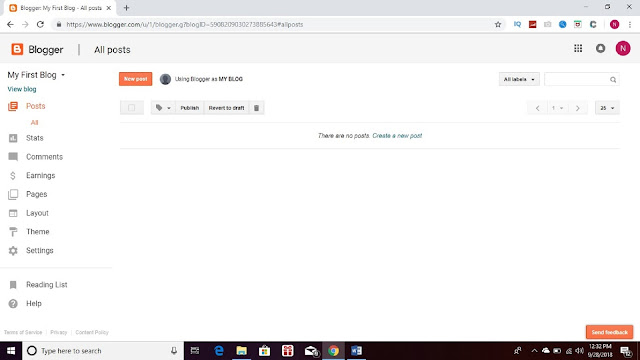
Blogger Dashboard
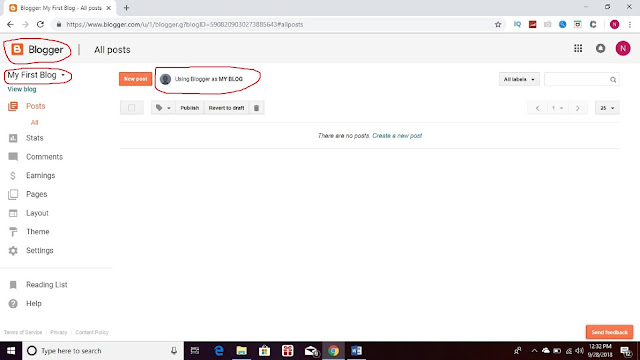
You can see many tools and options in Blogger Dashboard. Now, we will know about each of these tools and options thoroughly. First of all, you will see the blogger's logo with the name “Blogger” on top left of the page. There's nothing to actually say about it. You will find the name of the blog you created below the logo. If you read the last episode carefully, you can remember the title of the blog that I created was “My First Blog” and so here showing My First Blog, you will find also the Blogger name as "MY BLOG" as we given the same name in the previous episode.
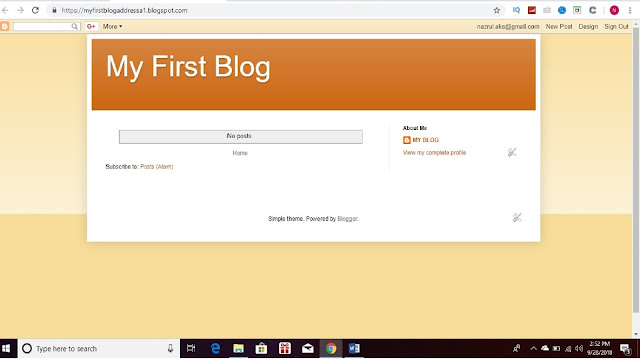
The next option is 'View Blog'. This is the link embedded text of your blog. That means clicking on it will take you to the homepage of your created blog.
 |
Click on View Blog
Posts: This is one of the most important option in blogger dashboard. All the posts you have on your blog will be here. All articles that are published or drafted will be visible from here. Besides, to make a new post, you have to go here. Moreover, to edit any published or draft post, you have to go here. Again, if you want to delete any post again, you have to do it from here.
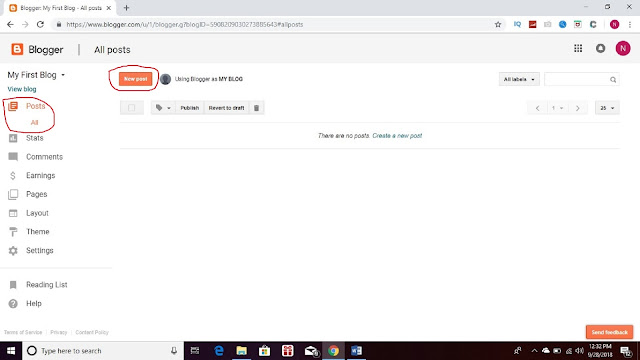
Click on New post
To make a new post, just click on New post option and it will direct us to a blank page where we can write down our articles. I will discuss in detail later into another episode about how to compose and publish your article.
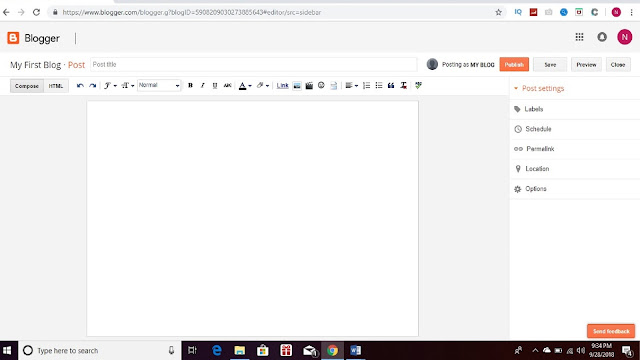
Write your Article on this Page
Stats: "Stats" means Statistics. Basically, Stats shows that how many times the blog has been visited, how many people have viewed the blog, how many times a article visited, the people of which place or country are watching your blog, which browser used more to view your blog, how many times and from which operating system have been viewed, which pages and how many times have visited (if there are pages), How many comments have been made, from where people are coming to your blog (from any other website or directly from Google), the keywords which people are using to come to your blog. Even you can see statistics of today, yesterday, for a week, a month, a year and from the date you have been created the blog.
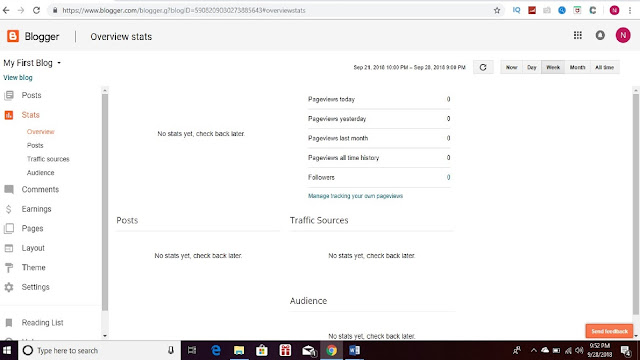
Overview stats
Posts stats
Traffic sources stats
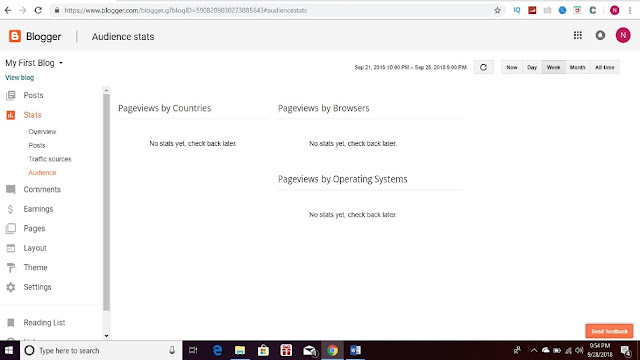
Audience stats
Comments: The next option is 'Comments'. You can see all the comments published and unpublished (spam) on your blog in Comments Tab. Comments are displayed according to post. You can also delete spam or unapproved comments from here.
Earnings: If you want to earn money from your blog then you have to apply from this option. This Tap will show you your earning through Google AdSense. Before doing that you must qualify for Google AdSense. I will discuss about how and when to apply for Google AdSense and earn money from blog writing in detail later in another episode.
Pages: Various pages may be needed in our blogs like "About Us", "Privacy Policies" etc. These pages are mainly created from this option. In the continuation of this Blogger tutorial, I will show how to create pages in blogger blog in any other phase.
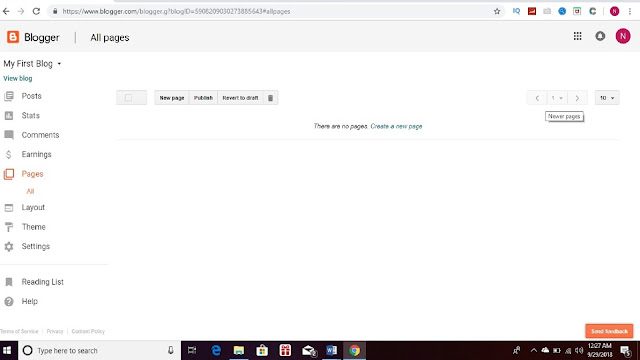
Pages Tab
Layout: This is basically the blog interface i.e. the appearance of your blog. This means that you have to fix the look of your blog from here. It gives the option for how the blog will look, where the posts will be, where the Gadgets are located and where the ads will be placed, etc. Apart from this, you can optionally set your blog's logo also. In a word, you can design your blog appearance from here according to your need and choice. So, stay with me. I will discuss in detail about the Blog layout in different episode of this tutorial series.
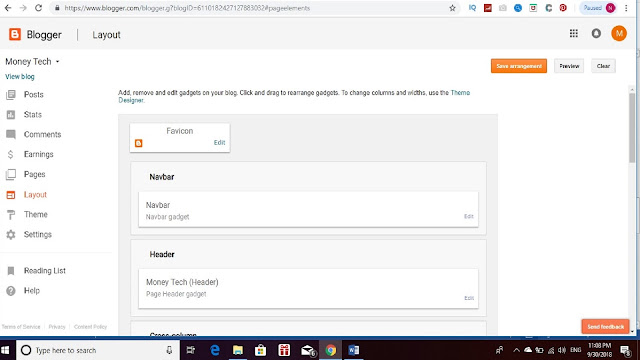
Blog Layout
Theme: Theme is a vital blog design option. It will take 2-3 episodes to discuss about. So,we will know the structure and design of blog theme later. Now know that the theme is the body of your blog. That is, the theme determines how the body of your blog will be, and the layout only makes it look beautiful. The theme is written in the HTML programming language. The main functions of a blog are indirectly controlled by this theme. The theme is sometimes called the template.
There are many template provided in blogger blog by default. As a beginner and to start your first blog, you can just use any one of them for free. But for advance lavel, you must know HTML. You will find complete tutorial on HTML in another series of this blog. Stay tuned.
 |
| Blog Theme |
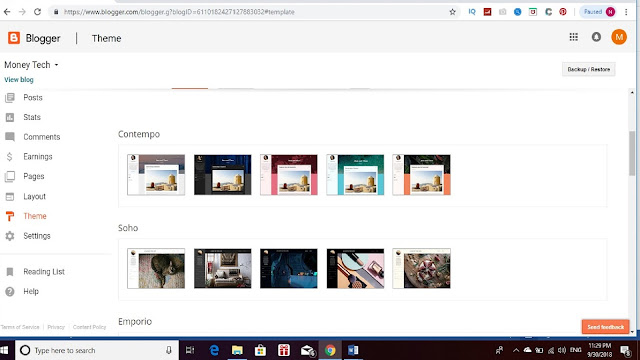
Choose any one of these Templates
Next there is 'Settings'. This is the most vital option for a Blog. Fixing essential things like blog name, title, blog address and SEO are done from here. Let's have a look at a glance what is inside the Settings Tab.
Clicking in Settings first comes 'Basic'. You can change your blog's title or name and even the web address also from here. This function is also used to add more details about the blog, to add a blog description and change the address of the blog. Besides, it is also used to start encrypted data transfer on your blog. It means that the HTTPS system can start any data transfer, add guest authors, limit visitors to the blog, or bring any limit to the viewer.
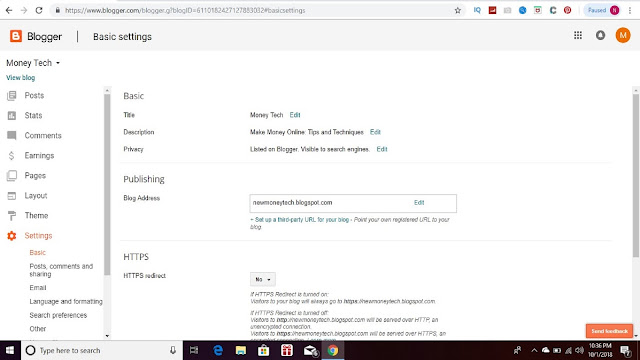
Next is 'Post, Comments and Sharing'. The maximum number of tuneups on the homepage, who can do the tuition, as well as control whether to share it to Google Plus as well as the tune is published, all these are done from here.
Next is Email. This is the option for the visitors who wanted to communicate by email. If we set an email for them, then they can communicate through that email.
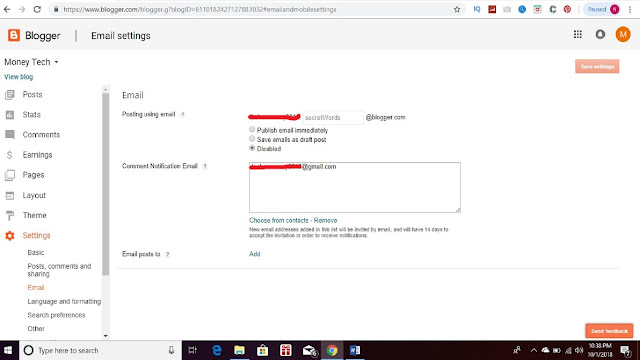
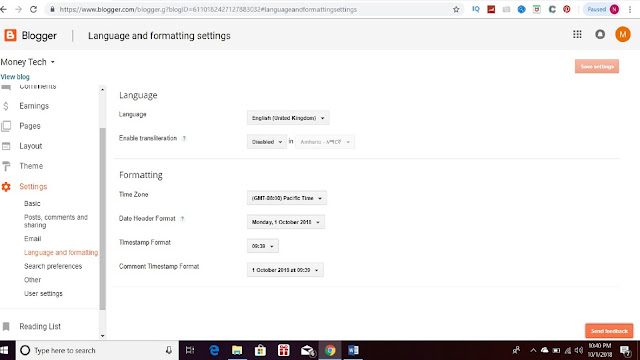
'Language and formating' is basically used to fix blog language and time.
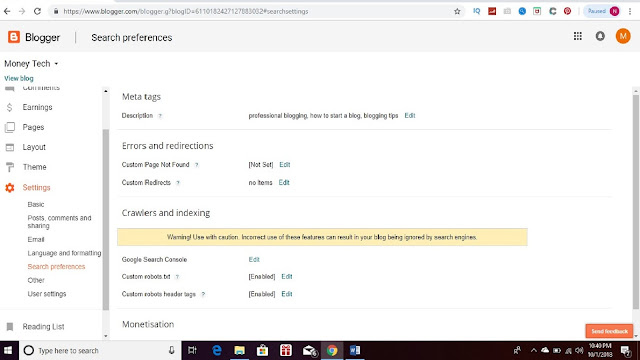
'Search preferences' is the most critical option for blog. This option is used for the default SEO of blog. It is very risky to make some changes without knowing it well. So, do not change anything here until you learn about it's function well. I will discuss about this section in a different episode.
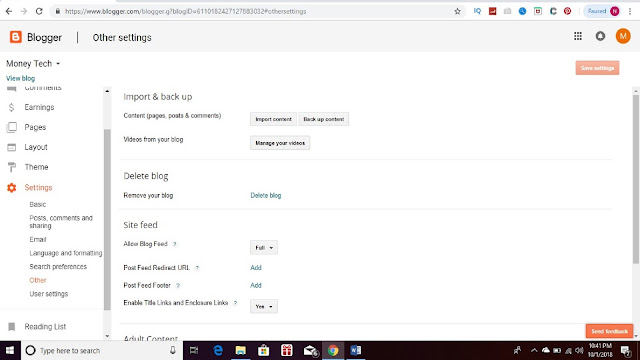
'Other' is used for blog backup, blog tune backup, etc. If you want to delete the blog, you will also have to come here.
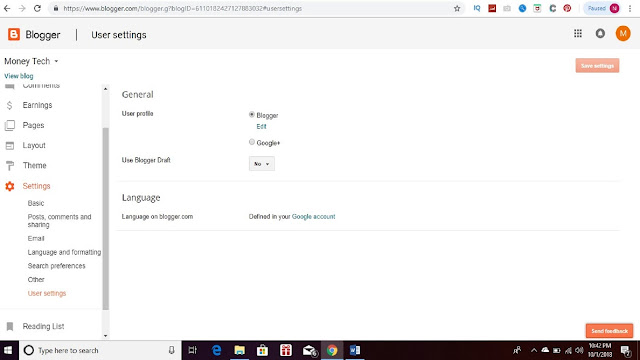
Then there are 'User Settings'. This is option for blogger and Google plus profile. Besides, blog language setting can also be controlled from here.
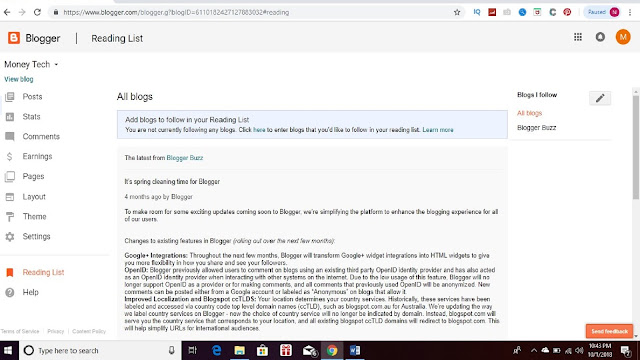
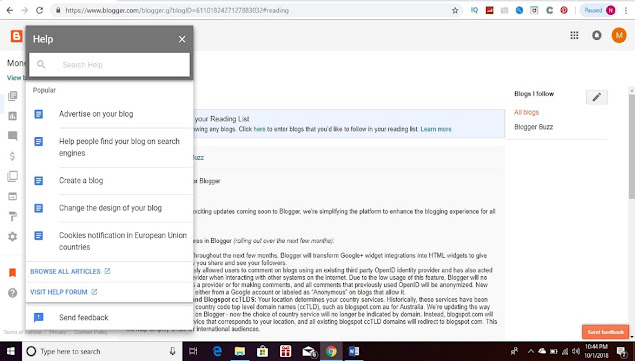
The bottom is 'Reading List' and 'Help'. You can add a blog to feature in the Reading List and get help related to Blogger in the Help Center.
So, this was today's post about. The next episode will be on how to write and publish post in the blog. So, stay tuned and do not forget to give your opinion. Please write on comments in there any questions and suggestions.
Read Also:
Thank You


No comments